
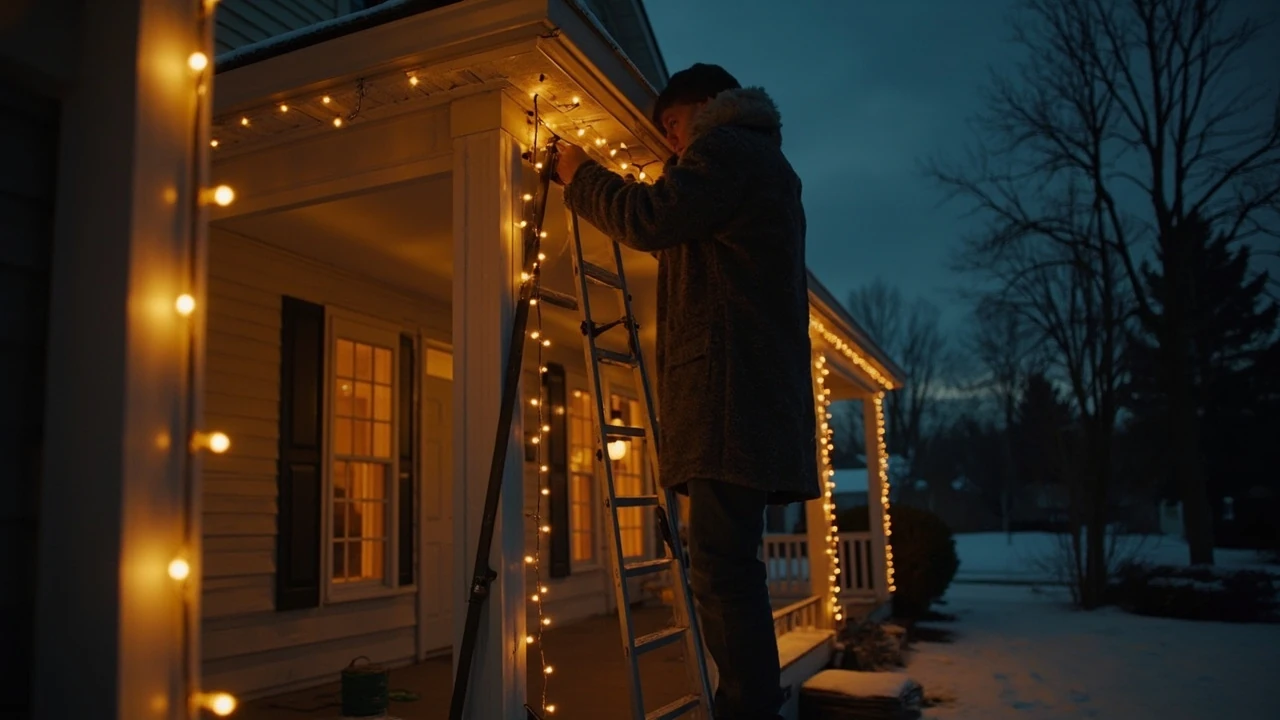
Christmas lights outdoor installation: a practical guide for homeowners
A roofline that looks effortless in a photograph usually hides a few hours of planning, a few trips up and down a ladder, and a handful of decisions that the homeowner quietly made before the first bulb went up. The visible part of Christmas lights outdoor installation is the warm glow against dark trim; the invisible part is how the system is powered, supported, and protected from weather. This guide walks through the work in the order most homeowners actually do it, from the first sketch to the last January takedown, and flags the trade-offs that are worth thinking about before you commit to a layout.
Outdoor lighting looks simple because the lights themselves are simple, but the installation has to coexist with wind, rain, ice, GFCI protection, and the limits of whatever outlet you actually have on the outside wall. Treat the project as a small electrical and carpentry job, not as decoration, and the result will be cleaner, safer, and easier to live with for the eight to ten weeks the lights are usually up.
Start with the house, not the lights
Most amateur displays fail for the same reason: people buy lights first and then try to fit them to a house they have not actually measured. The order matters. Before you decide on color temperature, bulb size, or animation, walk the outside of the home and answer a few questions on paper.
- How many linear feet of roofline do you want to outline, including peaks, valleys, and any dormers?
- Are there gutters in good condition, or are sections sagging, loose, or missing hangers?
- Where are the outdoor receptacles, what amperage are they on, and which breaker feeds them?
- Are there shrubs, trees, columns, or railings you want to wrap, and what is the rough height of each?
- Is the siding vinyl, wood, brick, or stucco, and do you know what kind of clip is safe to use on it?
A quick sketch with measurements turns a vague idea into a parts list. The same sketch also makes it much easier to estimate how many extension cords, how many clips, and how many watts you will draw. While you are already thinking about exterior maintenance tasks, it is worth checking that dryer and bathroom vents are clear before you cover them with greenery or light runs.
Plan a layout that matches the architecture
The houses that look best in holiday lighting are not the ones with the most lights. They are the ones where the lighting follows the architecture instead of fighting it. Three layout patterns cover most residential homes.
| Layout style | What it emphasizes | Best on | Common mistake |
|---|---|---|---|
| Roofline outline only | Clean edges, architectural lines | Simple gables, ranch homes, modern facades | Tracing every minor bump so the line looks busy |
| Roofline plus wrapped features | Windows, columns, porch railings | Craftsman, colonial, farmhouse styles | Using different color temperatures on connected runs |
| Full coverage with landscaping | Immersive, scene-driven display | Larger lots, deep setbacks, mature trees | Pulling too much power from a single circuit |
Pick one style and stick to it for the whole display. Mixing a warm white roofline with a cool white tree wrap, for example, makes a home look like two different projects grafted together. If you want variety, change bulb shape, spacing, or pattern within one consistent color and temperature family.
Choose the right hardware for outdoor use
Outdoor-rated gear is not a marketing label. It is the difference between a strand that survives a wet December and one that trips a GFCI on the first damp night. The relevant ratings are simple once you know what to look for.
| Component | Outdoor requirement | Why it matters |
|---|---|---|
| Light strings | UL or ETL listed, marked for outdoor use | Insulation and seals rated for moisture and cold |
| Extension cords | Outdoor-rated, three-prong grounded, correct gauge | Cheap indoor cords crack and fail in cold weather |
| Clips and hooks | UV-resistant plastic or stainless steel | Plastic becomes brittle; cheap metal stains siding |
| Timers and smart plugs | Outdoor enclosures, weatherproof covers | Indoor smart plugs are not sealed against rain splash |
| Connectors and splices | Sealed, gasketed, or heat-shrink-wrapped | Open splices are the most common GFCI-trip cause |
Match the gauge of your extension cord to the run length and the wattage of the lights. A long, thin cord feeding a heavy load is a voltage drop problem, which causes dim bulbs on the far end of the display and unnecessary heat in the cord itself. When in doubt, shorten the cord run or step up to a heavier gauge.
LED versus incandescent in 2026
The argument that started in the early 2000s is largely settled. Incandescent Christmas mini-lights still exist, and a few homeowners prefer their color rendering and the soft dimming curve when one bulb is missing. For the vast majority of residential installations, LED is the practical default. The trade-offs are real, but they tilt heavily in one direction.
- Energy use: A typical LED mini-string uses roughly 80 to 90 percent less electricity than an equivalent incandescent string, which matters when you are running a roofline plus several shrubs all night, every night, for two months.
- Heat: LEDs run cool enough to leave on shrubs and live greenery, which is a meaningful safety gain.
- Durability: LED strings tolerate being wrapped and re-wrapped across several seasons, while incandescent filaments are fragile.
- Color: Modern warm white LEDs at 2700K to 3000K sit very close to the look of classic incandescent, and the color is consistent from string to string if you stick to one manufacturer.
- Failure mode: Older series-wired incandescent sets went dark if a single bulb failed. Most modern sets, LED and incandescent, use a shunt or parallel design so a single dead bulb does not kill the whole run, which makes troubleshooting much easier.
The honest case for incandescent is nostalgia and a slightly warmer color in some fixtures. If that matters to you, mix incandescent into a small, low-wattage accent instead of building the whole display around it, and keep the rest of the system on LED so the electrical load stays manageable.
Electrical planning that keeps the lights on
Most trip-outs on outdoor displays are not mysterious. They are the predictable result of overloading one receptacle or chaining too many extension cords together. A small amount of arithmetic before you start avoids a frustrating December.
Check the wattage on each string or net, add them up, and compare the total to the capacity of the circuit feeding the outdoor outlet. A standard 15-amp household circuit at 120 volts is rated for about 1,800 watts of continuous load, but electricians and code generally recommend treating continuous loads as 80 percent of that, which works out to around 1,440 watts. LED displays rarely come close, but a hybrid LED plus incandescent display on the same circuit can. If you are designing a large display, split the load across two or more GFCI-protected outlets on different breakers.
Every outdoor receptacle that you actually use for a display should be GFCI-protected, either at the outlet itself or at the breaker. If your outdoor outlets trip the moment a strand gets damp, that protection is doing its job. The fix is to seal connections better, not to bypass the GFCI. A weatherproof in-use cover on the outlet, gasketed cord connectors, and drip loops where the cord enters the cover will dramatically reduce nuisance trips.
Mounting methods that respect the building
The way you attach lights to a structure is the part of Christmas lights outdoor installation that decides whether your house ends January with no damage or with a row of nail holes. The right clip depends on what you are clipping to.
- Gutter clips: Slip over the front edge of the gutter and hold the wire along the lip. They work on most K-style gutters, install in seconds, and leave no holes. Replace brittle plastic clips every few seasons.
- Shingle tabs: Slide under a shingle and hook the light string on the tab. Excellent for eaves without gutters, but use them gently on older shingles, especially in freezing weather, where the asphalt can crack.
- Adhesive hooks: Work on smooth siding, brick, or window trim, but the adhesive can pull paint or leave residue in cold weather. Reserve them for short-term displays you plan to remove within a few weeks.
- Tree wraps: Net lights or trunk wraps are the cleanest way to light evergreens. Avoid stapling lights directly to bark; the staples wound the cambium layer and create an entry point for disease.
- Stakes and pathway lights: Use plastic or coated metal stakes. Uncoated steel stakes rust within one season and stain concrete.
Aim for a mounting method that allows the lights to move a little in the wind without transferring that movement to the wire itself. A strand pulled drum-tight between two fixed points will fail at the bulb socket the first time a gust loads it.
Working at height, safely
Most injuries during holiday lighting are not electrical. They are falls. Treat the ladder portion of the job with the same caution you would give any maintenance work on the house.
- Use a fiberglass ladder anywhere a wire is being routed near the rails. A metal ladder and a live GFCI-protected circuit are not a good combination if a wire is pinched between the rail and the house.
- Set the ladder on level ground. If the ground is soft from rain, lay a plywood pad under the feet.
- Keep your belt buckle between the rails. Reaching to one side to install a clip is how people step off the top.
- Have a second person hand up clips and strings instead of climbing down every few feet.
- Wait for a dry, calm day. Wind and cold both increase the chance of a slip, and moisture makes plastic clips harder to seat.
If your display includes a second-story roofline or steep gables, consider whether a professional installer is worth the cost for that section alone. Many Christmas lights outdoor installation services will install just the hard-to-reach parts and leave the shrubs and railings to the homeowner, which is a reasonable middle ground.
Timing, timers, and energy use
A typical residential display that runs six hours a night for forty nights is the kind of thing a homeowner can plan around. A simple mechanical or digital timer costs very little and removes the daily decision of when to turn the lights on and off. Smart plugs add the option of running different zones on different schedules, which is useful when you want the roofline on at dusk and the landscaping to wait until later.
Set the schedule based on the actual goal of the display. If the goal is curb appeal for people coming home in the evening, dusk to midnight is plenty. If the goal is a centerpiece for a neighborhood event, the schedule can be different. Either way, the timer is doing two jobs at once: saving energy and reducing the hours the lights spend outside, which extends their lifespan season over season.
Maintenance during the season
An installed display is not a finished one. A few small checks over the eight to ten weeks it is up will save you from a dark Saturday morning when a guest is on the way.
- After the first hard rain, walk the display and look for any strand that has gone dark. A single bad connection is much easier to find at the start of the season than in week nine.
- Keep spare bulbs, fuses, and a short section of replacement wire on hand. Most modern LED sets use a small inline fuse in the plug; if the whole string is dark, that is the first thing to check.
- Brush heavy snow off shrubs and roofline runs after a storm, especially wet snow, which is heavy enough to pull a clip out of the gutter.
- Watch for any GFCI trips. One trip during a storm is normal; repeated trips on dry days mean a connection is failing and needs to be reseated or replaced.
Taking the display down and storing it
How you take the display down matters as much as how you put it up, because January you is tired and February you will not want to untangle knots. A small amount of discipline in the takedown saves hours the following year.
Take the lights down in roughly the reverse order of installation, so the last strand up is the first strand down. Wind each string around a spool, a piece of cardboard, or a dedicated reel as you go, rather than dropping it into a pile. Label the spool with the location of the strand, for example “front gutter, west side” or “porch column, north.” Store everything in a dry, climate-stable space. A garage attic in a hot summer will shorten the life of plastic clips and any rubber seals on connectors.
This is also a good moment to make a short note on the actual run lengths and bulb counts of each line. Next year you will not remember whether the east gutter took 80 feet or 120, and the note will save a return trip to the store.
When a professional installer makes sense
There is no rule that says a homeowner has to do the whole project. A professional Christmas lights outdoor installation service typically includes a design visit, the materials, the installation, the maintenance during the season, and the takedown. For a tall or complex home, or for a homeowner who simply does not want to spend a Saturday on a ladder, the service is often worth what it costs. The right time to consider it is when the project has moved past a single-story roofline, when you want animated elements that have to be programmed, or when you would rather not own the inventory of lights that you will only use for six weeks a year.
Regardless of who installs the lights, the homeowner is still the one who decides what the display is trying to do, and the answer to that question shapes every choice that follows. Pick the goal first, and the rest of the project tends to fall into place.
A short checklist before you switch it on
- All strands and cords are rated for outdoor use and free of cracked insulation.
- Every connection is inside a weatherproof cover or above ground level, not sitting in a puddle.
- No more than 80 percent of the circuit capacity is in continuous use.
- Clips are seated firmly and the wire has a little slack between anchor points.
- Timer or smart plug is set and confirmed before you walk away.
- A basic spare kit, including bulbs, fuses, and a short extension cord, is stored near the display.
With those boxes ticked, the system is as safe as it can reasonably be, and the actual reason you started the project, which is the look of a warmly lit home on a dark December evening, gets to take center stage.
Frequently asked questions
How early should I plan a Christmas lights outdoor installation?
Most homeowners start planning in late October or early November, when stock is plentiful and installer schedules are still open. If you are buying lights for the first time, allow a week for parts to arrive, and another day for the actual install. For larger homes or full-coverage designs, booking an installer in October is reasonable, since their calendars fill quickly once the weather turns cold.
Do I need GFCI protection for outdoor Christmas lights?
Yes. Any outdoor receptacle that powers a holiday display should be GFCI-protected, either at the outlet or at the breaker. The protection is required by current electrical code and is the single most important safety feature in a wet-weather environment. If the outdoor outlets in your home predate GFCI requirements, an electrician can add a GFCI breaker or a GFCI-protected outlet inexpensively.
Can I leave outdoor Christmas lights up all year?
You can, but it shortens the life of the lights and clutters the look of the home for the months when they are not relevant. UV exposure hardens plastic insulation, fades colors, and weakens clips, and most displays are designed for seasonal use. If you do leave them up, plan to inspect the wiring each spring and replace any strand that shows cracking, exposed copper, or brittle insulation.
How many strands can I safely connect end to end?
The answer is printed on the box or tag of the specific product, and it depends on the gauge of the wire and the wattage of the bulbs. For most modern LED mini-strings, the limit is between 20 and 40 connected sets. For older incandescent sets, the limit is much lower, sometimes only three or four. Always follow the manufacturer spec, because the limit exists to keep the current in the first strand within the rating of its wire and socket.
What is the best way to attach lights to brick or stone?
For masonry, the cleanest approach is a clip that hooks into the mortar joint or under a stone lip, or a removable adhesive hook on a smooth surface. Drilling into brick to anchor lights works but is hard to patch, and the anchors usually stay behind long after the lights are down. If you want a more permanent anchor, use a stainless or coated masonry fastener and leave it in place for next year.
Are net lights or string lights better for shrubs?
Net lights are faster to install and produce an even, dense look, which is good for low foundation shrubs. String lights wrapped by hand give more control over which branches are lit, which is better for specimen plants or trees where you want to highlight the structure. Either works, and many homeowners use both, nets along the front hedge and wraps on the larger trees.
How do I stop extension cords from tripping the GFCI?
Most GFCI trips on extension cords are caused by water getting into a connection, not by the cord itself. Keep every plug connection elevated or inside a weatherproof cover, give each cord a small drip loop near the outlet so water runs off before it reaches the plug, and replace any cord whose plug no longer seats firmly. If a particular outlet trips immediately, even with a known-good cord, have an electrician check the outlet and the load on its circuit.
Is it cheaper to hire a Christmas lights outdoor installation service every year?
It depends on what you are comparing. The service costs more in a single year than buying a basic set of LED strings and clips, but it also includes design, maintenance, takedown, storage, and replacement of any failed strand. For a large or complex display, the service is often the better value once you account for your own time, the ladder work, and the storage of bulky light inventory during the off-season.
What color temperature looks best on a traditional home?
For most traditional architectural styles, a warm white in the 2700K to 3000K range reads as classic and inviting. Cool whites above 4000K feel more contemporary and can look harsh on red brick and warm wood. Mixing the two on a single home almost always looks accidental; pick one temperature and use it consistently across the roofline, the trees, and any accent features.
Can I install Christmas lights outdoor installation in freezing rain or snow?
It is technically possible but rarely a good idea. Cold plastic snaps more easily, your hands work poorly in gloves, and the roof and ladder are more dangerous. If a storm is coming and you have not installed yet, it is better to wait for a dry, calm day than to rush and risk a fall or a strand that you have to redo because a clip popped loose in the first wind.
Leave a Reply